Display
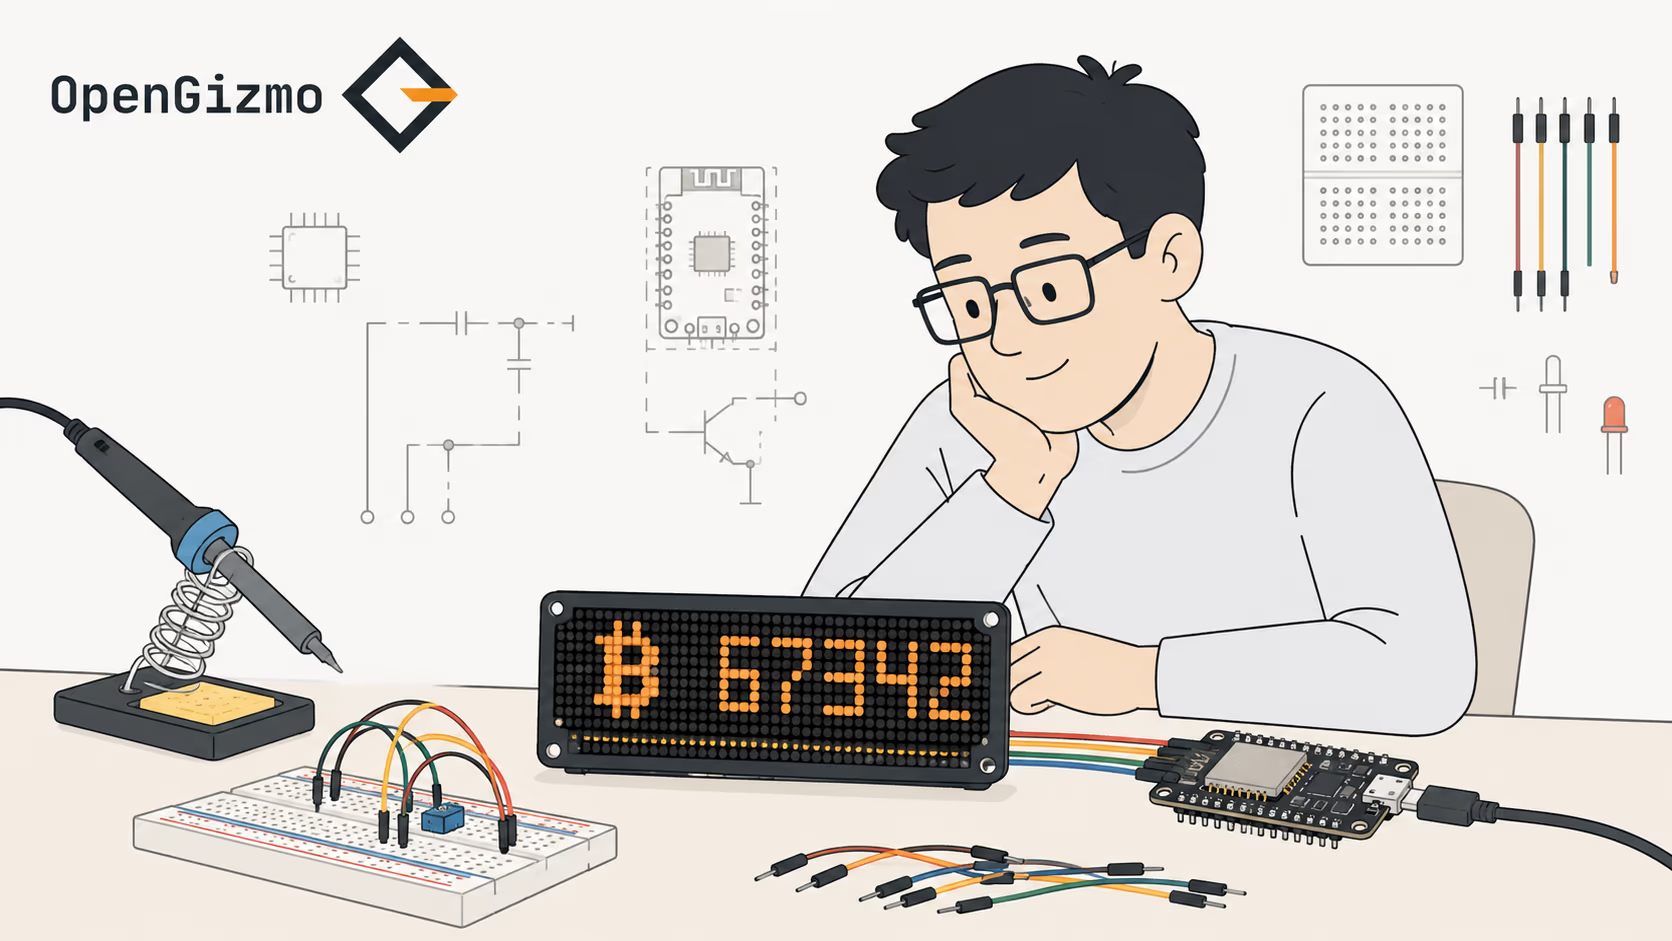
A scrolling crypto ticker shown on a MAX7219 LED matrix.
A WiFi-connected crypto display built with an ESP32, a MAX7219 LED matrix, and a Nuxt 4 web app for browser-based setup and configuration.
Project snapshot
A quick overview of the hardware, firmware, and behavior behind this build.
A scrolling crypto ticker shown on a MAX7219 LED matrix.
ESP32 firmware with WiFi, EEPROM-backed settings, and an embedded HTTP configuration server.
Captive-portal onboarding on first boot, then local access through ticker.local on supported networks.
A lightweight Nuxt 4 interface for WiFi credentials, API key, and display settings.
Gizmo Ticker is a small always-on crypto display that feels more like a compact appliance than a demo board. The ESP32 keeps pulling live market data, the MAX7219 matrix turns it into a readable scrolling output, and the Nuxt app gives you a clean place to configure the device without reflashing firmware for every change.
The project is built around a simple three-part flow.
| Step | What happens |
|---|---|
| Setup | The web app sends WiFi credentials, API keys, and display settings to the device over HTTP. |
| Runtime | The firmware stores those settings locally and keeps pulling market data in the background. |
| Output | The LED matrix renders the selected values as a readable scrolling ticker. |
That makes the whole build practical for a desk, shelf, or workbench setup instead of just a one-off prototype.
Gizmo Ticker works well both as a daily crypto glance board and as a maker template for other connected displays. The same firmware-plus-web-app structure can be reused when you want a physical screen with local configuration and predictable runtime behavior.
Field notes / Frequently asked questions
A few practical answers about how the project works, how it is configured, and what to expect from the hardware.
Gizmo Ticker connects to WiFi, calls a market data API in the background, and renders the selected values on the MAX7219 matrix as scrolling text.
No. The project is designed around a browser-based setup flow so you can update WiFi credentials, API settings, selected assets, brightness, and scroll behavior without repeated firmware flashing.
The MAX7219 matrix is compact, bright, and well suited to simple scrolling data displays. It keeps the hardware focused on glanceable information instead of full UI rendering.
No. The setup flow is built so you can choose which asset to display, adjust how values are formatted, and tune the ticker for the market data you care about.
The useful difference is the full appliance workflow: saved settings, WiFi onboarding, browser-based configuration, and a display loop designed for daily use instead of a one-off test sketch.
Setup flow
Follow these steps to get the project running, from the first local setup to the initial upload or configuration.
Step 1
Plug the ESP32 into your computer with a data USB cable so the browser flasher can detect the serial port.
Step 2
Scroll down to the firmware flashing card, start the upload from the browser, and wait for the process to complete before disconnecting the board.
Step 3
On first boot, use the device setup flow to add WiFi credentials and the market data API key, then save the configuration so the ESP32 can join your local network.
Step 4
After the ESP32 joins WiFi, open ticker.local on a supported network and adjust visible sections, selected coin, number format, intensity, and scroll speed until the matrix behaves the way you want.